How to set up custom snap zones on an ultrawide Windows monitor
Keep your main app straight ahead on an ultrawide monitor, with chat on one side and a reference window on the other. Draw three custom snap zones in Snapped so each window has a place you can return to.
Draw the center zone first
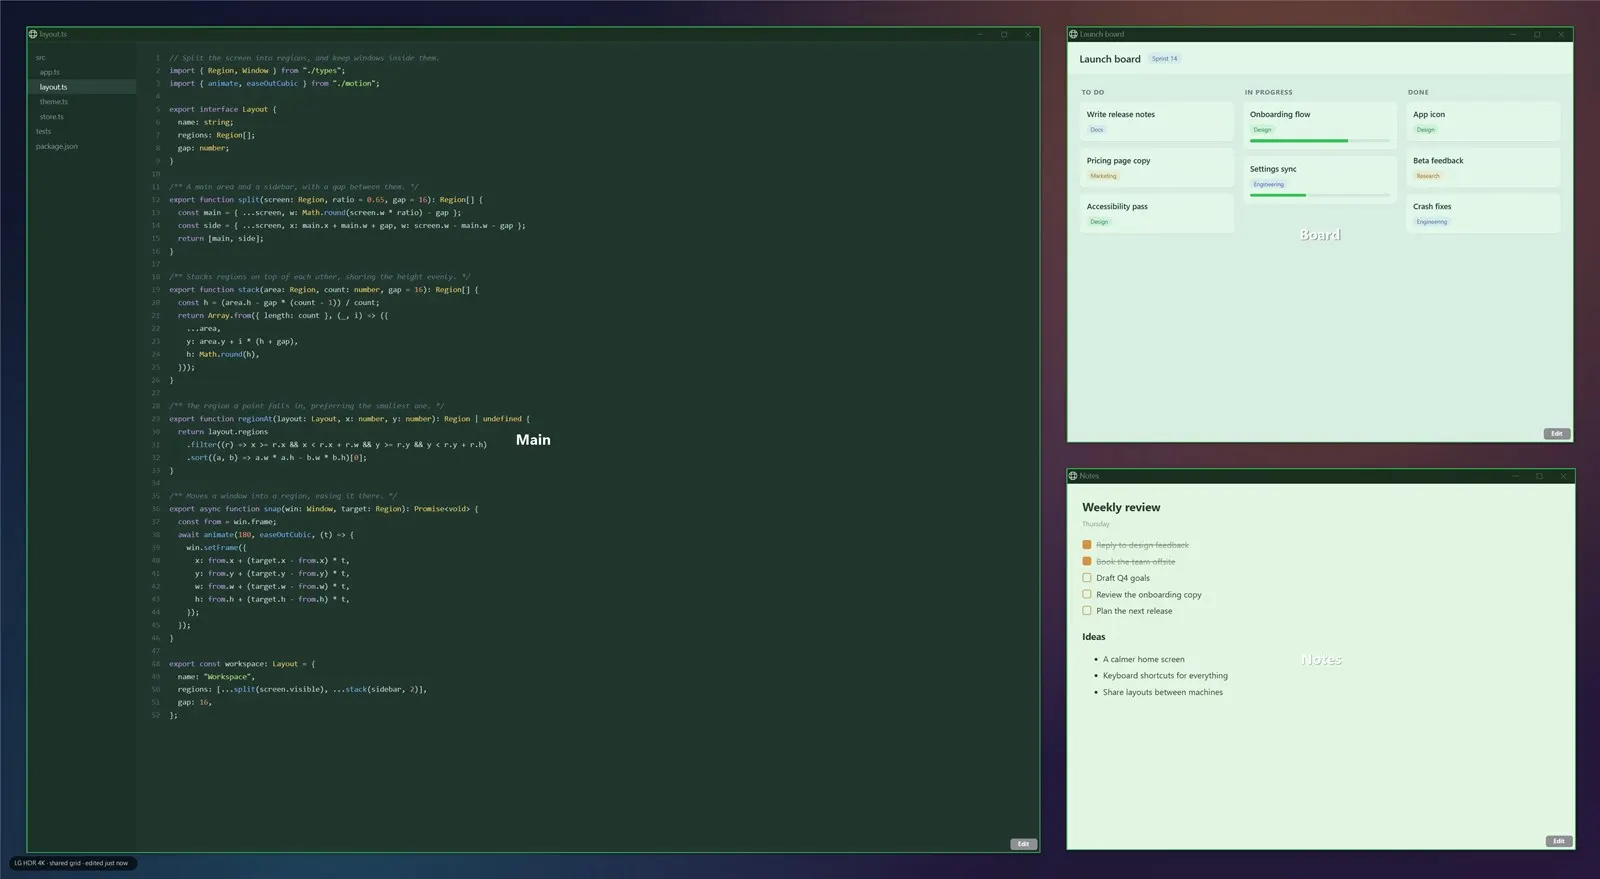
Open Snapped from the system tray to show the hotspots. Draw a tall zone centered in front of you, using about half the monitor’s width. Draw a narrower zone on each side. Leave room for the taskbar if it’s visible on that display.
Use the side that’s easiest to glance at for the window you check most often. If your reference browser needs more room, widen that zone and give chat a narrower strip.
Move windows into your zones
- Start dragging your main app by its title bar.
- Hold Shift, guide the pointer over the center zone and drop the window while Shift is held.
- Repeat with chat and your reference window. Adjust any zone that makes its window too narrow to use comfortably.
Make a second layout for a different task
Use another Windows virtual desktop for work that needs a different split. For example, keep the centered layout for writing and draw two equally wide zones on a second desktop for comparing documents. Snapped can keep a separate layout for each virtual desktop.
If you dock at different desks, see how to save a Windows layout for each physical monitor.
Try this layout with Snapped
Get free for WindowsStart free - up to 100 snaps. No account needed.
For setup instructions and features, see Snapped for Windows.